
This is what you need to find Planet X!
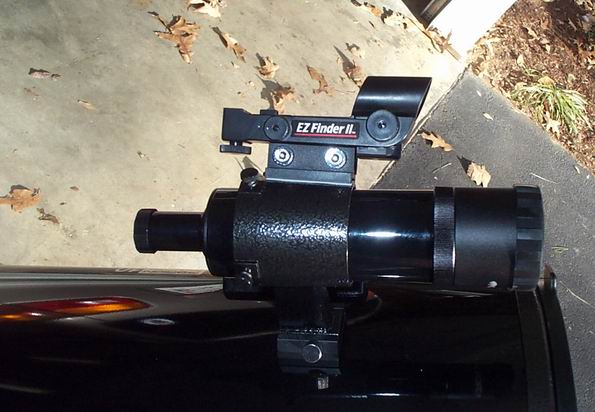
My very first finder was the stock 6×30 finder that came with my XT4.5. I quickly figured out that this finder would not do at all. The correct image was nice, but it sure was hard to get things in the finder. Then I discovered the 2 eyed finder method. Looking through the finder with both eyes open allowed me to get the target in the general area easily and then look through the finder for fine tuning. Although this was a huge improvement, I decided I needed to try out one of those fancy 1x finders. I decided to get the Orion EZFinder.
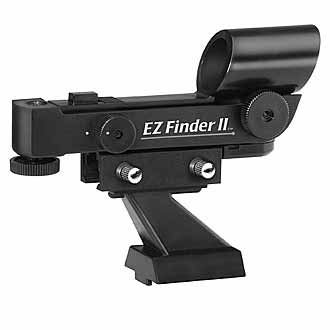
This turned out to be a great investment. It is small and lightweight and a perfect fit for the XT4.5. I used it for a while on the XT10 until I bought the Rigel QuickFinder. I still have it on the XT4.5. I had the neighbor kids over one night to try out the XT4.5 and I had left the 6×30 finder on there. They were having a lot of difficulty finding targets. The next night, I had the EZFinder back on and they were hopping around to everything.

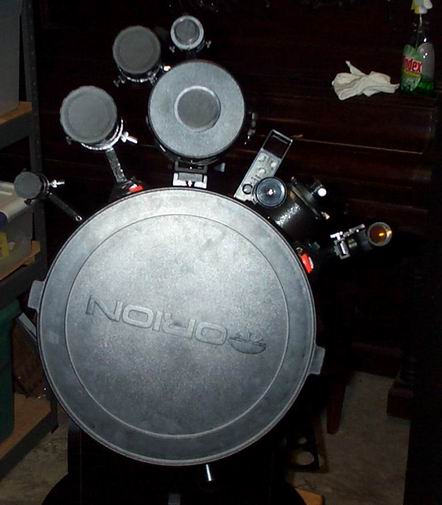
I originally had the stock 9×50 finder that comes with the Orion XT10. I added the Orion EZFinder red dot finder. This was a great addition to the 9×50 finder. It made finding objects much easier. I found that on most nights I could locate everything with the EZFinder and a 32 mm eyepiece. On nights where there were not a lot of guide stars visible, I would supplement with the 9×50 optical finder.
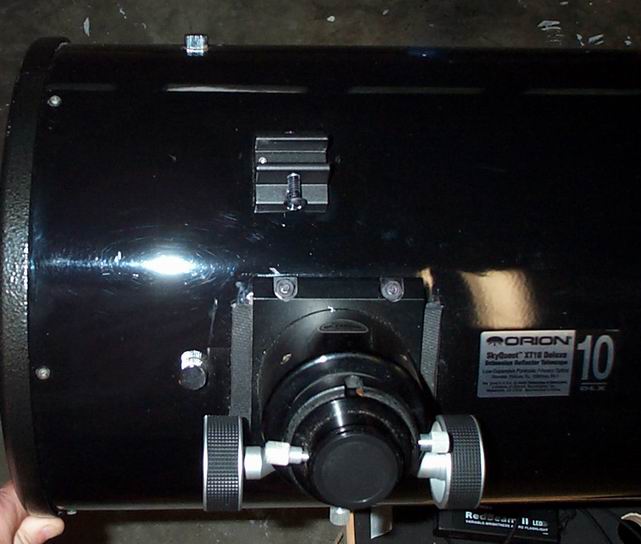
I found the 9×50 difficult to use because of the straight through viewing. Using it near zenith was very yoga like. So, I replaced it with the Orion 9×50 Right Angel Correct Image (RACI) finder. The Orion RACI slides right into the dovetail that is on the XT10, so installation was a snap. This was a huge improvement.
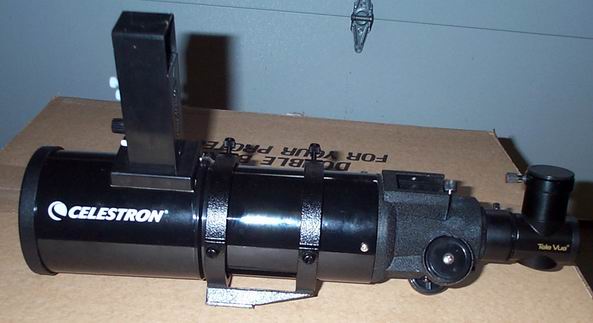
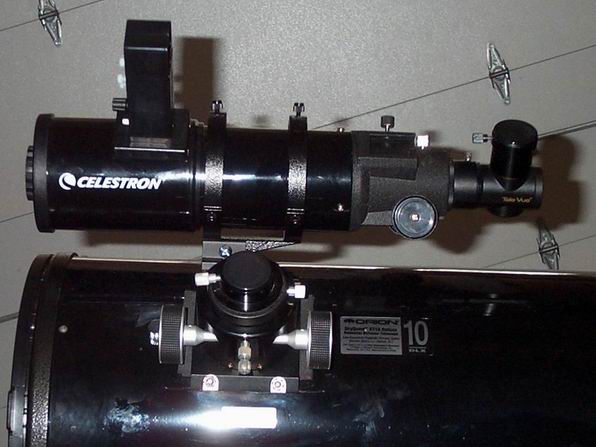
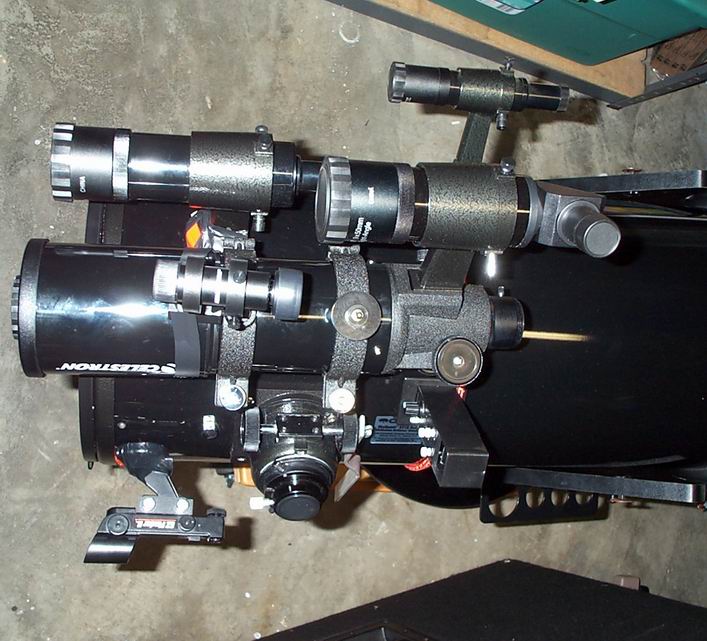
Then I bought the binoviewers and never did cyclops viewing. That meant my widefield views were difficult to achieve. I missed the wide field views I could get from the 32mm UO Konig, so I looked at adding a small rich field refractor to the XT10. I did a great deal of research and found that a short tube 80mm (ST80) refractor might fit on the XT10. I chose the Celestron Wide View spotting scope because it is black and matched my XT10. The Celestron is essentially the same as the Orion ST80.
There was much discussion on balance problems and such, but in the end, it has been a wonderful addition. It is mounted with a set of 80mm finder rings that use a dovetail system that I bought from Hands on Optics and cost a whopping $50. They have a small dovetail system that allows me to remove the ST80 easily. I mounted the dovetail in the same spot as the old finder bracket. I used one of the original holes from the stock bracket, but had to drill a hole a little wider than the other stock hole. I used the stock backing plate on the inside of the OTA. Even though I had to drill the extra hole, it is still covered up by the stock finder bracket if I ever decide to go back to the original configuration.
The dovetail is on there very solid. I can slide the ST80 on and off for transport and it does not need re-aligned. I’m going to replace the machine screw with one that has a knob on the end so I don’t need to remember a to bring a screwdriver with me. Other than that, this has worked very well.
I usually just leave a 32mm plossl in the ST80. That gives me 13x and a 4 degree true filed of view (TFOV). Now that’s a finder.
I also mounted a Rigel Quickfinder on the dew sheild of the ST80. This combination has proven very useful. The high mounting of the Rigel makes it very easy to get to. I find the Rigel to be more useful than the red dot EZFinder because of the red rings that it displays. This helps to star hop easier, especially if your finder charts are marked for Telrad circles. I opted for the Rigel over the Telrad because it is lighter and fit on the dew shield of the ST80 better. The Telrad is a fine unit finder and I would not hesitate to mount one on any telescope.